Requirements
- Latest Chrome
- Latest NodeJS
Installation
Installation is super easy:
npm i alm -g
TIP on mac / linux you might want to try
sudo npm i alm -g.
TypeScript Project
TypeScript projects are specified using a tsconfig.json file. If you don't have one we can create it for you just run
alm -i
Start
Once you have the tsconfig.json (or if you already had one) you can start the editor using the following command from the directory that contains the project:
alm -o
TIPs:
-pflag can be used to provide a different path totsconfig.json-oopens the browser window for you. Alternatively you can open the url that is logged on the console manually (something like http://localhost:4444)
Using the editor
One of the key goals of this editor is to make everything possible with just the keyboard.
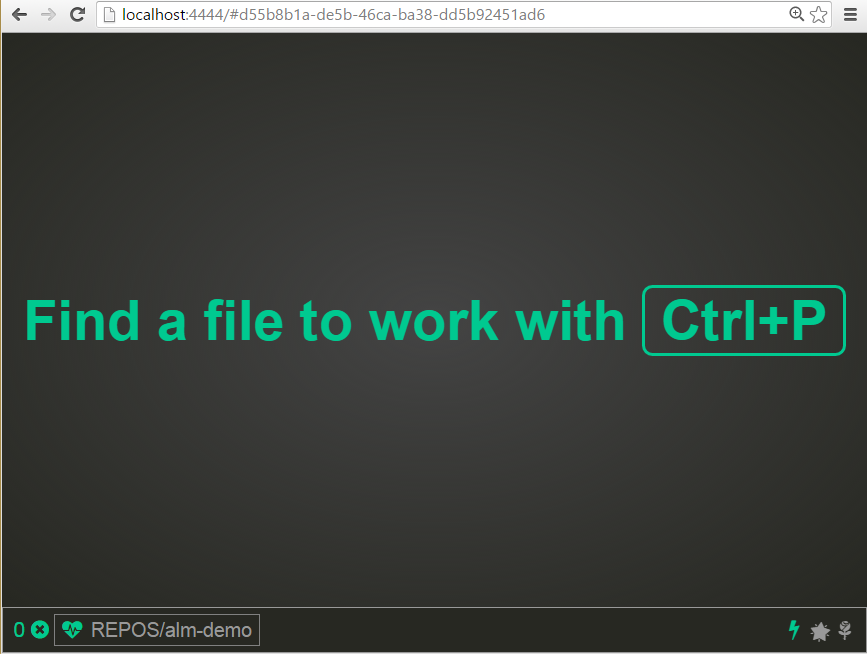
Once you have the editor open you will be presented with a window like the following:
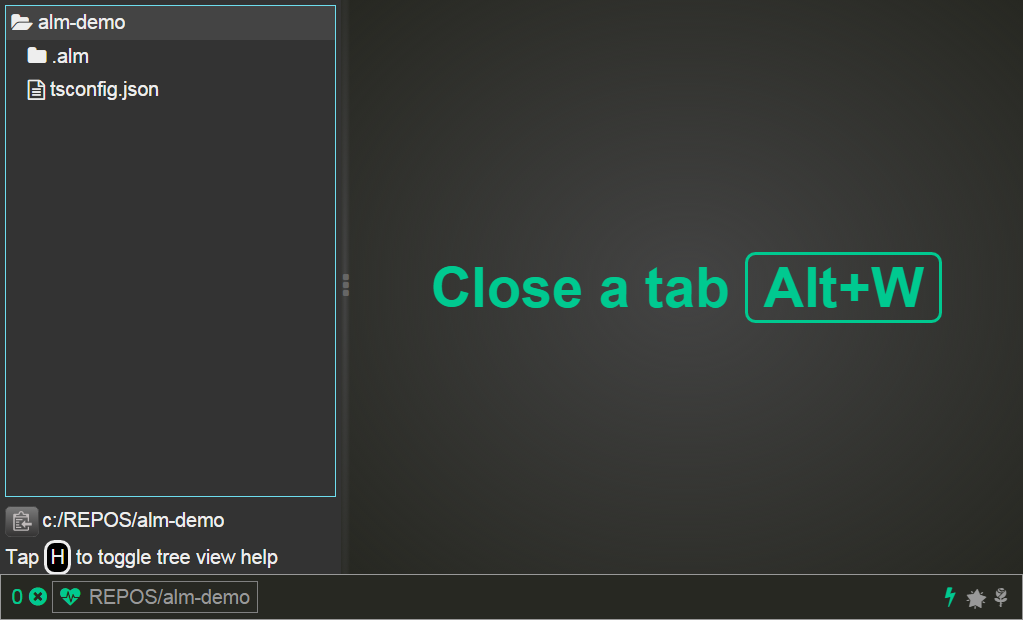
Now go ahead and open the tree view with Ctrl|⌘ + \
TIP Keyboard shortcut
Ctrl|⌘meansCtrlon windows and⌘on Mac.
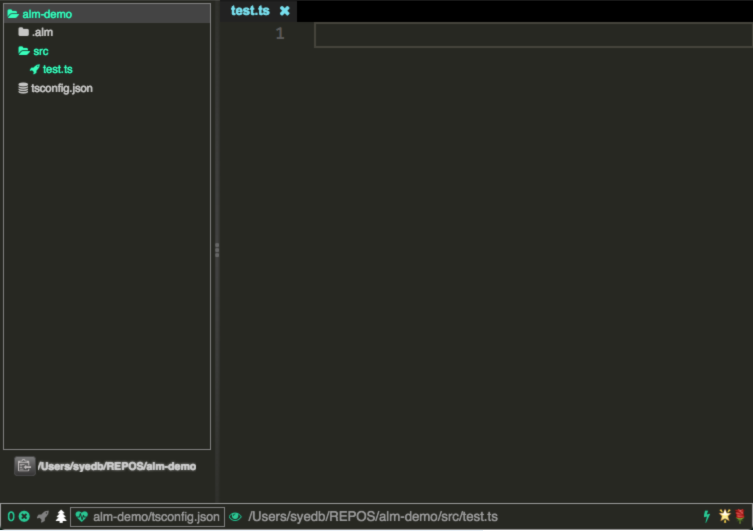
The tree view has quite a few features (you can press h to view its help when it is in focus) and one of them is (no surprise 🎉) Add File. Just tap a and you will be presented with a file add dialog.
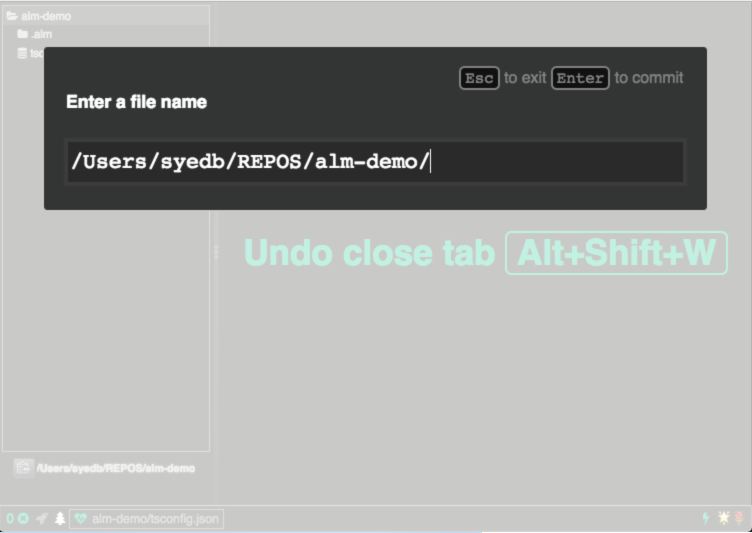
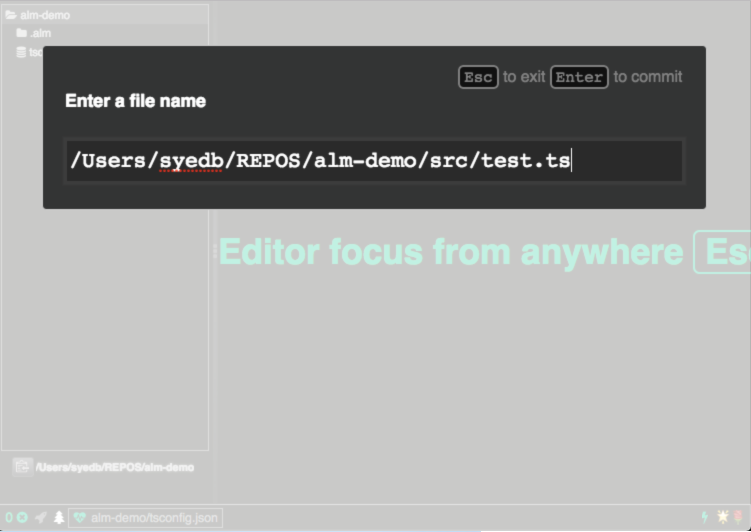
Just type in the filename and press enter. This will create the file and open it for you as shown.
TIP:
Ctrl|⌘ + \will toggle the tree view open and close
Now go ahead and type in some code. Doesn't have to be good code. Here is some bad code:
var foo = 123;
foo = 'Hello World'
console.log(foo);
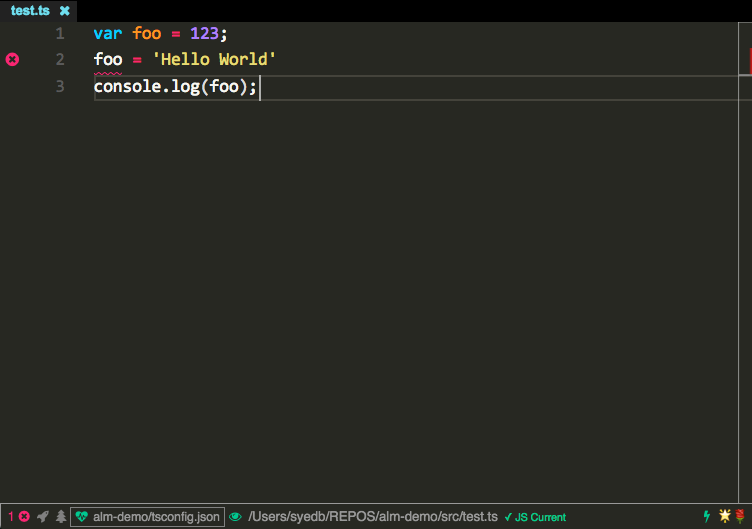
You will notice that the TypeScript code intelligence / analysis will kick in. You can toggle the error panel with Ctrl|⌘ + ; (just giving you a reason to type the ; key)
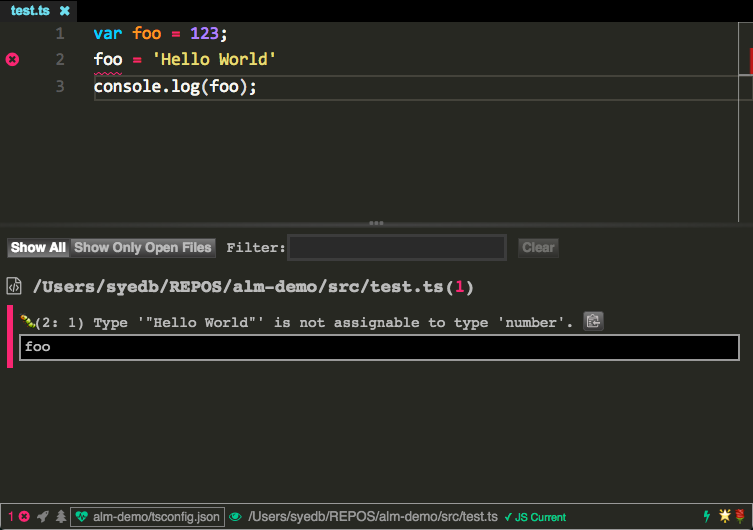
TIP: You can cycle through project wide errors with
F8. Remember we love the keyboard 🎹
I leave it to you to fix the error, or leave it as it is and move to your real world application.
Next Steps
Don't forget to checkout other features, especially Omni Command Search